No matter how hard we try to keep our cars’ paint safe from scuffs and scratches, damage can still happen. Scratches can be caused by rock chips, debris, or bumping into an object causing paint transfer. If you have a small scratch that isn’t too deep, you can remove it yourself instead of spending money at a repair shop. All you’ll need are the right tools, proper instructions, and a bit of patience to buff out the scratch. Here are step-by-step instructions on how to buff out scratches on a car.
Tools you’ll need before you start
- Nu Finish Car Polish and Sealant – $8.65 at Amazon
- Turtle Wax Rubbing Compound Heavy-Duty Cleaner – $9.64 at Amazon
- Avid Power Buffer Polisher – $79.99 at Amazon
- Chemical Guys Orange Microfiber Cutting Pad – $12.49 at Amazon
- USANooks Microfiber Cleaning Cloth Grey – $9.99 at Amazon
- FifthPulse Black Vinyl Disposable Gloves – $7.99 at Amazon
- 3M Automotive Refinishing Masking Tape – $7.98 at Amazon
- Chemical Guys Mr. Pink Foaming Car Wash Soap – $9.99 at Amazon (Optional)
- 2.5 Gallon Mop Bucket – $13.99 at Amazon (Optional)
Instructions for buffing out scratches on your car
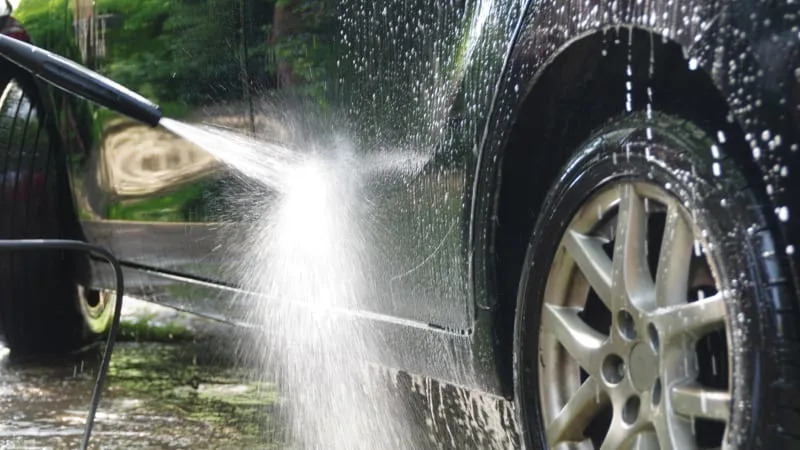
Step 1: Wash and dry your car

Before you begin any repairs, ensure the entire vehicle, or at least the area you will be working on, has been thoroughly cleaned and dried. Take it to an auto or touchless wash or you can wash it yourself by hand. Then dry it completely with a clean microfiber towel.
Step 2: Survey the scratch

Look at the scratch closely and determine how deep it is. If it’s a shallow scratch then you can try to buff it out. If the scratch is too deep, you may need to apply touchup paint or get it repaired at a shop by a professional.
Step 3: Apply tape

Using tape to mark the area you want to work on is a very helpful way to ensure you are only working on the part that’s scratched that you want to buff out.
Step 4: Prep the surface

Now you have to prep the surface where the scratch is located. Ensure, once again, the area is clean and you have your buffer connected and ready to go.
Step 5: Apply compound to buffer

Grab your cutting pad and attach it to the buffer. Then apply the compound and rub it in. Add 3 additional drops of compound near the corners, similar to a triangle shape.
Step 6: Start buffing over the car scratch

Then start buffing the area you want to work. Remember that more compounding is done when you hold it slowly while using it. While buffing the clear coat from your car’s paint will begin to come off and get stuck on the cutting pad so be prepared to wipe it off with a clean microfiber towel. Once the clearcoat is cleaned off of the cutting pad, then reapply the compound and start buffing again.
Step 7: Apply Polish

After using the compound, there will be a dull, whitish color over the area it was applied to. In order to remove that, you will need to polish the area. Grab a fresh cutting pad and apply the polish the same way you applied the rubbing compound. Then begin buffing the area. Once you are finished, use a microfiber towel to remove excess polishing compound from the area.
Car Buffing FAQs
Do I have to use a buffer to remove car scratches?
It’s possible to remove scratches by using an applicator pad you hold with your hand, but a real buffer will offer better results and work much faster. A buffer will also cause less stress to your hand compared to using an applicator pad.
Can I buff out deep car scratches?
As helpful as rubbing compound and a buffer can be, deeper scratches present a bigger problem. For deeper scratches, you will need to clean the scratch and then fill in the cracks with putty. Then you will need to paint the area with the exact paint that matches your vehicle. If you want to learn how to deal with a deep scratch yourself, then watch our tutorial on Autoblog Details.
How do I protect my clear coat while removing scratches?
The thin layer of clear coat that comes on your vehicle’s paint is very delicate, that’s why you will need to apply tape to mark the area you will be working in to prevent damaging other areas. Make sure after buffing for a minute or two, you stop to clean out clear coat particles from your cutting disk. If you remove too much of your clear coat then the area may need to be repainted.
Do I need to sand the area before buffing out scratches on my car?
Yes, it’s important to sand the area before using the compound. The paint needs to be sanded down to flatten the surface so there won’t be any gouges or scratches. The rubbing compound works as a liquid version of sandpaper to reveal a flat surface by removing damaged parts of the clear coat.
What if the scratches can’t be removed?
If you aren’t satisfied with the results, then try starting over and buffing the are again. If you still aren’t getting the results you want, then it might need to be repaired by a shop.
Should I wash and wax the car after buffing?
Yes, it is important to wash the vehicle after buffing. Then wax the car after to protect the paint and give it a nice shine.
What is the difference between cutting compound and rubbing compound?
These two products have similar names and uses, but there are a few key differences you have to take note of. According to detailxperts.com, “ A rubbing compound has finer abrasives or “grit” in comparison with cutting compounds. Cutting compounds have coarser and harder abrasives, thus the name “cutting”.
